


What Should Be on a Wheel Loader Daily Inspection Checklist?
Key Takeaways
- Always verify repairs against the work order before inspection
- Inspect not just repaired parts, but the entire vehicle
- Test drives are essential to detect hidden issues
- Recheck the vehicle after the test drive for leaks or faults
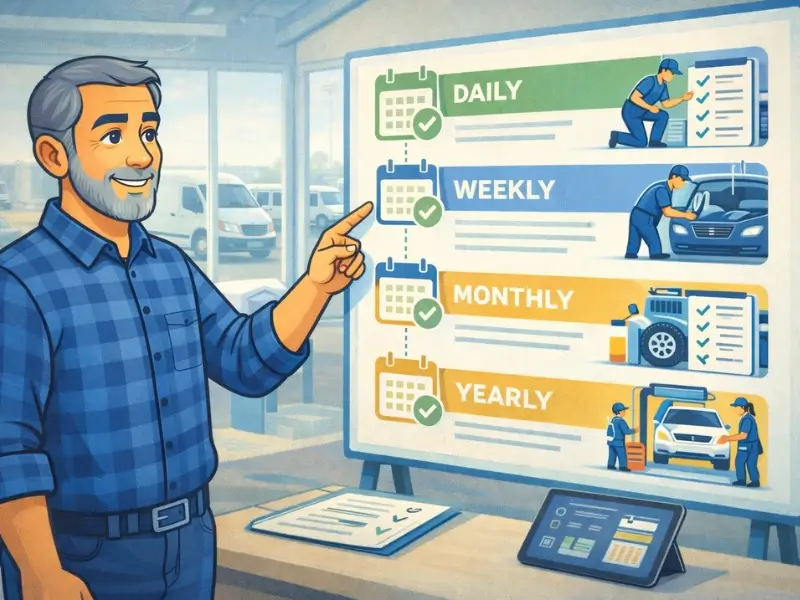
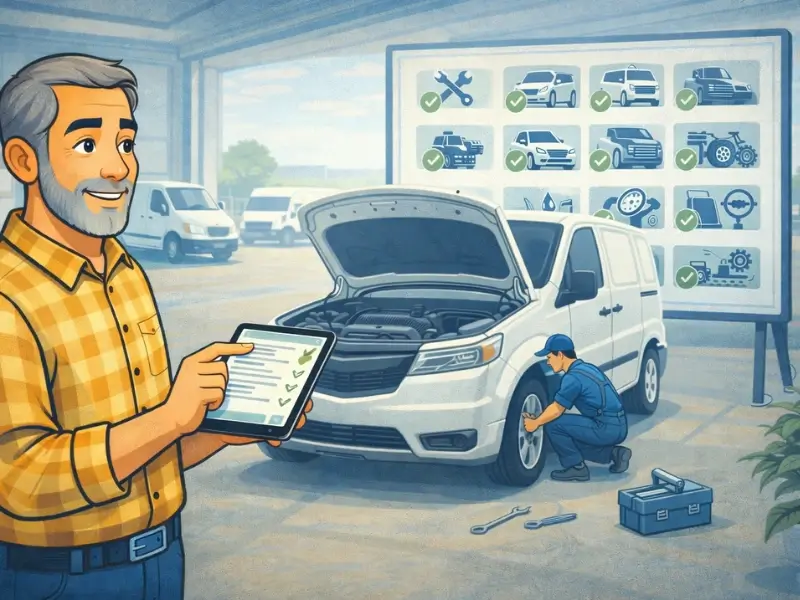
- Use a standardized digital checklist for consistent fleet management
When a vehicle returns from repair, the job is not finished. In fact, this is where one of the most important steps begins.
A post-repair inspection ensures that the vehicle is truly road-ready, safe, and performing as expected. For fleet managers, skipping this step can lead to repeat breakdowns, higher costs, and even safety risks.
This guide will help you implement a practical, fleet-ready post-repair inspection checklist that improves vehicle reliability and reduces operational disruptions.
Why Is Post-Repair Inspection Important for Fleets?

Fleet operations depend on consistency. Even a small repair issue can lead to delays, customer complaints, or safety hazards.
Here is why post-repair inspection matters:
- Prevents repeat repairs: Poor-quality repairs can go unnoticed without inspection, leading to additional downtime and cost.
- Ensures safety compliance: Vehicles must meet safety standards before going back on the road.
- Protects your investment: Fleet vehicles are assets. Proper inspection ensures repairs actually extend vehicle life.
- Improves driver confidence: Drivers feel safer when vehicles perform properly after repair.
- Reduces operational risk: Identifying issues early avoids breakdowns during trips.
In short, a structured inspection process helps you move from reactive maintenance to controlled fleet management.
What Should a Post-Repair Inspection Include?
A strong inspection process should cover both visible and hidden issues. It is not just about checking what was repaired, but also ensuring nothing else was affected.
Let us break this down into a complete checklist.
1. Documentation and Repair Verification
Before inspecting the vehicle physically, start with paperwork.
What to check:
- Verify that the repair matches the work order
- Compare the invoice with the initial estimate
- Check details of parts replaced (OEM vs aftermarket)
- Ensure warranty information is documented
- Confirm technician notes and job completion status
This step ensures transparency and helps avoid disputes with vendors later.
2. Exterior Inspection
The exterior gives the first indication of repair quality, especially after bodywork.
Key areas to inspect:
- Panel alignment (doors, hood, trunk should close smoothly)
- Paint consistency (color match, smooth finish, no patches)
- No scratches, dents, or paint overspray
- Proper fitting of mirrors, trims, and bumpers
- Lights and indicators properly installed and functional
A mismatch in paint or alignment often indicates incomplete or rushed repair work.
3. Structural and Body Integrity Check
This is critical after accidents or major repairs.
Inspect for:
- Frame alignment and structural symmetry
- Quality of welds and joints
- No loose or improperly fitted components
- Underbody condition (no cracks, bends, or leaks)
Even minor structural issues can impact vehicle safety and long-term durability.
4. Engine and Mechanical Systems
The mechanical performance of the vehicle must be verified thoroughly.
Check the following:
- Engine starts smoothly without delay or noise
- No unusual vibrations or knocking sounds
- Braking system responds properly and evenly
- Steering is stable and aligned
- Suspension absorbs shocks correctly
A repair may fix one issue but unintentionally affect another system. This is why a full check is necessary.
5. Fluid Levels and Leak Inspection
Fluids are the lifeline of any vehicle. After repairs, they must be rechecked.
Inspect all critical fluids:
- Engine oil (correct level and quality)
- Brake fluid (no air bubbles or leaks)
- Coolant (adequate and uncontaminated)
- Transmission fluid (smooth shifting depends on this)
- Power steering fluid
- Windshield washer fluid
Important:
- Look for leaks under the vehicle
- Check for signs of contamination or discoloration
Even a small leak can become a major issue during operations.
6. Electrical and Electronic Systems
Modern fleet vehicles rely heavily on electronics.
What to verify:
- Headlights, brake lights, and indicators working properly
- No warning lights on the dashboard
- Power windows, locks, and mirrors functioning
- Infotainment and GPS systems working
- Sensors and cameras calibrated correctly
If your fleet uses advanced systems like telematics or ADAS, ensure they are functioning without errors.
Download Your Free Vehicle Inspection Checklist Now!
Prevent costly breakdowns and maximize uptime with our free checklist.
Download
7. Interior Inspection
Interior checks are often overlooked, but they matter for both safety and driver experience.
Inspect:
- Seat belts and airbags
- Dashboard and control panels
- AC and heating system performance
- No loose panels or unusual noises
- Overall cleanliness and finish
A well-maintained interior reflects professionalism and improves driver satisfaction.
8. Test Drive Evaluation
A test drive is one of the most important steps in post-repair inspection.
During the test drive, check:
- Smooth acceleration and braking
- No pulling to one side
- Proper gear shifting
- Steering response and alignment
- Noise, vibration, and ride comfort
Static inspections cannot detect dynamic issues. Only a real-world test can confirm performance.
9. Post-Test Drive Recheck
After the test drive, inspect the vehicle again.
Focus on:
- Any fluid leaks that appear after operation
- Brake performance consistency
- Tire condition and pressure
- Engine temperature stability
- New warning lights or alerts
This step helps catch issues that only show up under load.
10. Final Quality Check Before Deployment
Before handing the vehicle back to operations, do a final review.
Ensure:
- Vehicle is clean and presentable
- No tools or materials left inside
- All repairs are complete
- Documentation is updated
- Vehicle is ready for immediate use
This ensures a professional handover and avoids last-minute issues.
Post-Repair Inspection Checklist Table
Common Mistakes Fleet Managers Should Avoid
Even experienced teams make these mistakes:
- Skipping the test drive due to time pressure
- Only checking the repaired component, not the full vehicle
- Ignoring small leaks or noises
- Not documenting inspection results
- Relying completely on the repair vendor without verification
Avoiding these mistakes can significantly improve fleet efficiency.
How to Standardize Post-Repair Inspections in Your Fleet
To get consistent results, you need a system, not just a checklist.
Best practices:
- Create a digital inspection checklist for all vehicles
- Train staff on inspection standards
- Maintain inspection logs for every repair
- Integrate inspections with maintenance schedules
- Use data to identify recurring repair issues
Standardization reduces human error and improves accountability.
Final Thoughts
A post-repair inspection is not just a routine step. It is a critical control point in fleet management.
In a fleet environment, small issues scale quickly. A strong inspection process ensures they are caught early.
Streamline your post-repair inspections with Simply Fleet. Track repairs, automate checklists, monitor vehicle health, and reduce downtime. Gain full visibility and ensure every vehicle returns to the road safe, reliable, and ready for operations.