


.png)


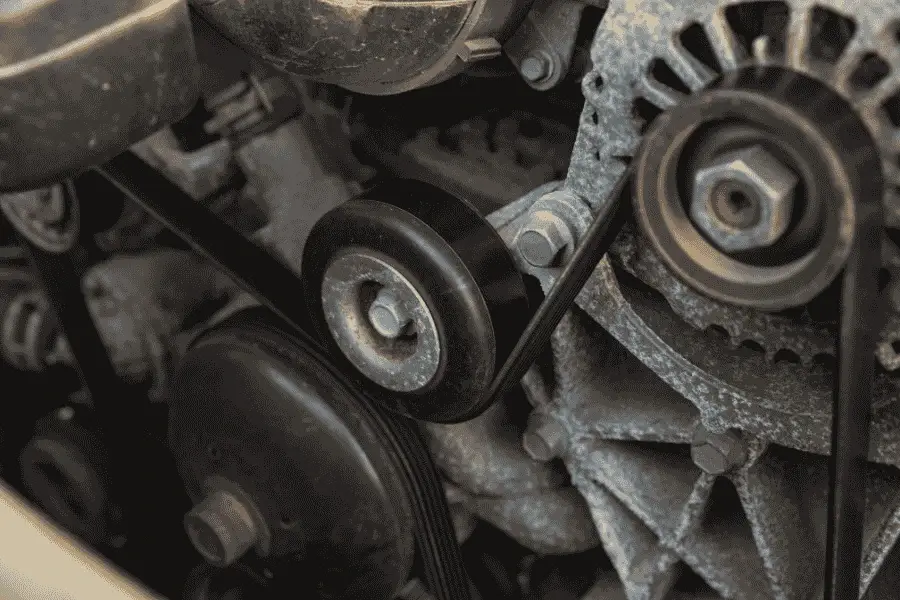
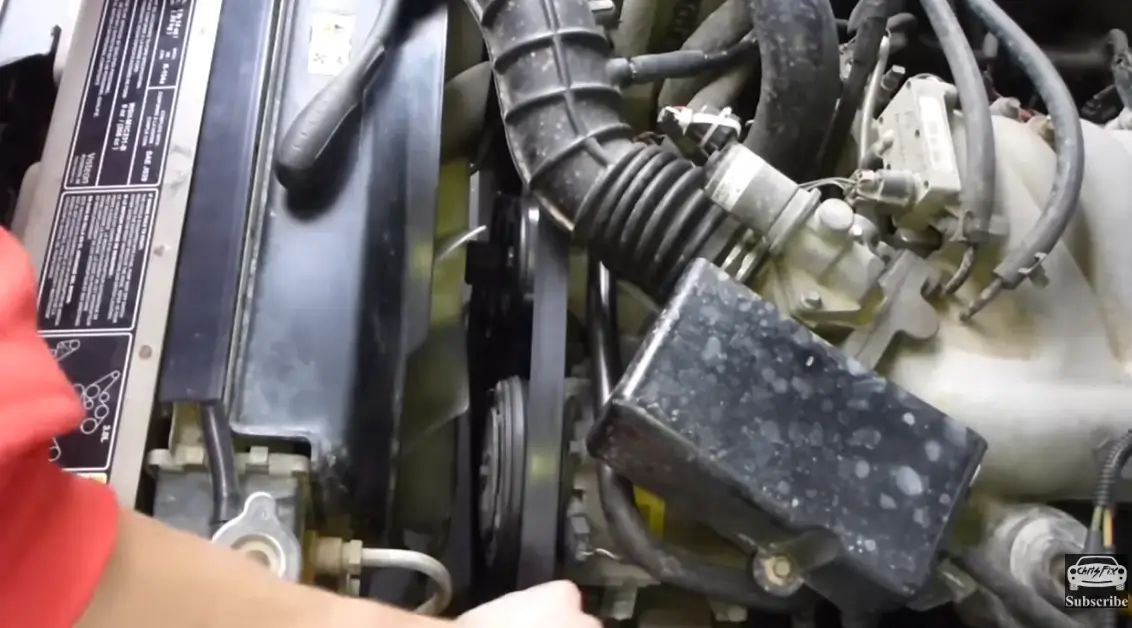
A worn serpentine belt can sneak up on you, a little squeal today, a big failure tomorrow. Replacing a serpentine belt is a straightforward preventive task that stops bigger problems (dead batteries, loss of power steering, and overheated engines) before they start. Before you begin, allow the engine to cool completely before working near rotating components. Locate the belt routing diagram under the hood or in the owner’s manual before removal. Inspect the tensioner and idler pulleys while the belt is off.
%20(1)%20(1).webp)
.png)


