

.png)


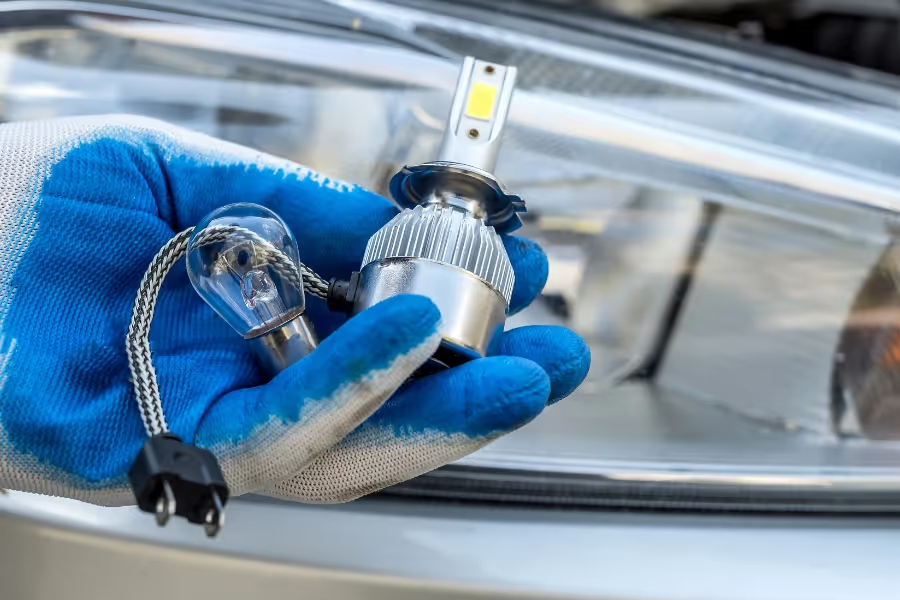
Driving with one headlight out isn’t just unsafe, it’s also against the law in many places. Before replacing a headlight bulb, turn off the vehicle and allow the headlights to cool completely. Disconnecting the battery may be recommended on some vehicles. Always handle bulbs carefully and avoid touching the glass.

%20(1)%20(1).webp)

.png)


Driving with one headlight out isn’t just unsafe, it’s also against the law in many places. Before replacing a headlight bulb, turn off the vehicle and allow the headlights to cool completely. Disconnecting the battery may be recommended on some vehicles. Always handle bulbs carefully and avoid touching the glass.


