


.png)


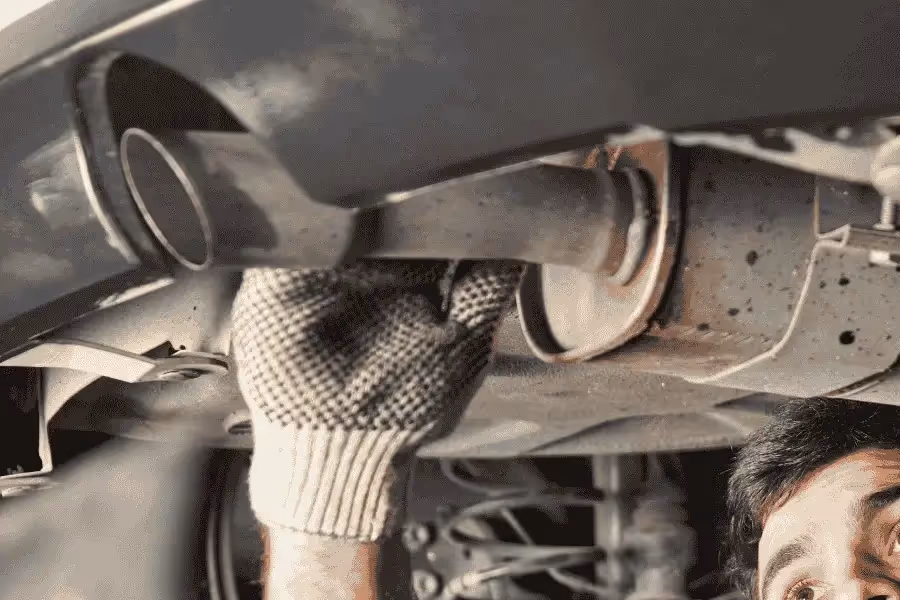
A loud rumble, hissing noise, or sudden drop in fuel efficiency can all point to one issue, an exhaust leak. While the exhaust system works quietly in the background, even a small leak can turn into a safety risk if ignored. Before inspecting, testing, or repairing an exhaust leak, ensure the vehicle is parked safely, the engine is turned off, and the exhaust system has completely cooled. Work in a well-ventilated area and wear basic protective equipment to avoid exposure to hot components or harmful gases.
%20(1)%20(1).webp)
.png)


A loud rumble, hissing noise, or sudden drop in fuel efficiency can all point to one issue, an exhaust leak. While the exhaust system works quietly in the background, even a small leak can turn into a safety risk if ignored. Before inspecting, testing, or repairing an exhaust leak, ensure the vehicle is parked safely, the engine is turned off, and the exhaust system has completely cooled. Work in a well-ventilated area and wear basic protective equipment to avoid exposure to hot components or harmful gases.


